|
|
Post by Colossal Cockhole on Nov 3, 2008 19:26:44 GMT -5
Have you ever carved rubber stamps before? I've always thought about it, but didn't know where to start. J asked, so I thought I'd play show and tell for a bit. So, when Becca and I moved to NH, we found out about letterboxing. Letterboxing, in a nutshell, is pretty much treasure hunting, where you have a set of clues that will lead you to a box/container that has your prize in it (in the case of letterboxing, its a rubber stamp that you ink up and stamp into you log book). When you go, you have a personal log book and personal stamp that you use to stamp into the letterboxes log book. This is what my log book looks like:  It's just a moleskin journal, though you could use anything from a journal like mine, or something with handmade pressed paper or something like that. With your personal stamps, you can either buy one or make one. I've carved mine from erasers and rubber material you'd use for print making:  The top one was my first that I made, and I really had no idea what I was doing. Its made out of a wooden block, and didn't really work as the ink would soak into the wood and it fell apart pretty quickly. the bottom one was made with an eraser. The following are ones that I've carved and placed out in the wilds of New Hampshire, and have all been stolen. After carving them I stamped them in my book and wrote when they were placed along with their box name (in case you were wondering what the wording is):  This one was placed down the street from where I lived at the time, so when it went missing, I carved a new one that I liked better (and with two full arms), which also was stolen:    I was sad when this one went missing because its one of the few that I've made that I designed and carved from scratch, as opposed to the fuckpuppet ones, where I traced a picture and rubbed it onto the carving material. It's based on a letterbox called "the John Stark Letterbox" that takes you all over the city deciphering coded messages off inscriptions on statues. we would copy down the inscription and then go to a local pub/bar, where we would drink and decode the messages. my box (aptly called "pub crawl" took you bar to bar to bar to bar to bar to bar that we went to as we solved the code. it also used the same cipher as the one its inspired by. These two I carved, but never placed them, but currently don't know where they are at at the moment (lost in the house somewhere):   I've also carved a few for friends and family, most of which i don't have stamps of. I do have this one that I made for Ken a couple years back:  and so yeah, there you go. |
|
|
|
Post by Luke on Nov 4, 2008 3:56:03 GMT -5
I need to make a Bunnies That Hate stamp. These are cool.
One day when you're bored can you post a pictorial "how to"?
|
|
|
|
Post by JTagmire on Nov 4, 2008 12:27:53 GMT -5
I'm curious how-to make a stamp as well. The second Kermit and the CMX ones turned out really nice.
|
|
|
|
Post by Suzanne on Nov 6, 2008 7:53:13 GMT -5
I've never tried to stamp-cut! I've lino-cut before but that was tricky and often painful. I'm going to go find some erasers to sacrifice.
|
|
|
|
Post by Colossal Cockhole on Nov 10, 2008 12:51:19 GMT -5
ok, so how to make a stamp: ultimately, you want to draw or transfer an image onto your carving material (eraser or or other). there are a couple of ways that you can transfer the image to the material. The way that I have used the most and have had the most success with is tracing an image in pencil and doing a rub-transfer onto your carving material. In the past, I've used tissue paper or vellum to trace it, so it looks like this:  If you are doing this with a picture that doesn't exist, say like naked princess leia playing guitar hero, you may need to create your image first before you can transfer it. So, a quick trip to google and photoshop takes this: 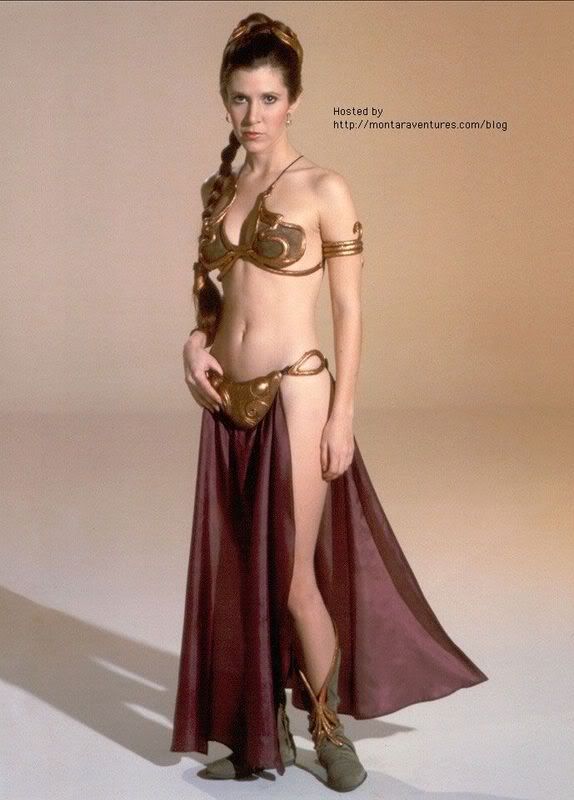 and this:  and creates this: 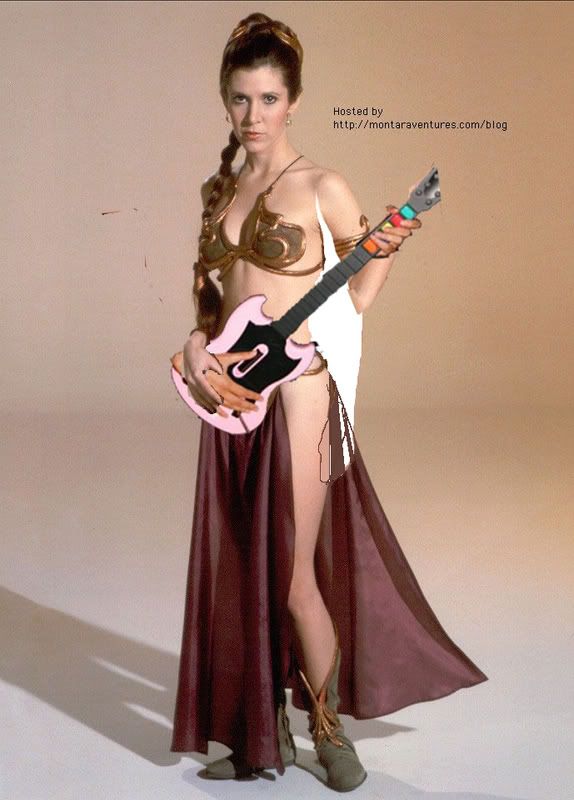 now that you have your image, you can trace it. I tried something new with this one where I just outlined everything that I wanted transfer, skipping over things that I don't want (like the extra hand on the guitar) and adding extra bits that aren't there (like nipples):  Once it is outlined/traced, you take your tracing, flip it over and put it onto your material. your then going to take a pen or something, and scratch the back to transfer it:  this is what your image will look like on the material: 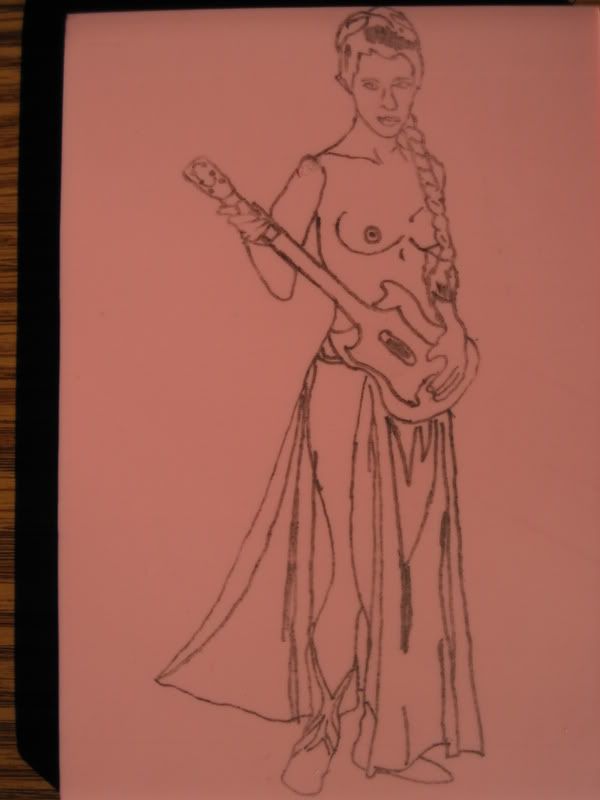 The image is backwards because it needs to be to have it stamp how you want it to when your done. At this point, you are set to go with carving. If you have a lino-cutter, you can use that. I don't and use xacto knives I have laying around. When you are carving, note that whatever you do not cut is what is going to stamp when you are done. using the leia stamp as an example, I cut out everything that wasn't a black line, with a few exceptions:   Once you have your stamp fully carved, you're going to ink it up and give it a go to see how its turned out, and so you can see where you need to clean up (bits that you may not have cut enough of so it shows up on the stamp when you didn't want it to) Stamp 1:  cleanup:  once your good with it, you can cut off the excess (anything that is not part of your stamp that may get in the way when you stamp it) so it looks like this:  and there you have a finished stamp 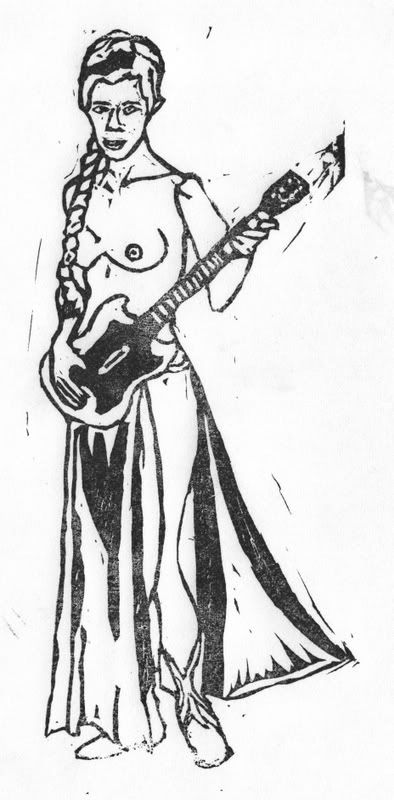 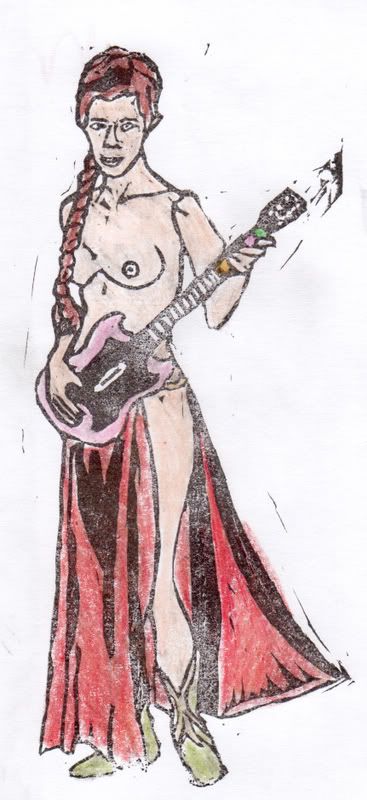 |
|
stryderwolfe
Citizen
 don't touch me don't taint me don't tempt me don't hate me
Posts: 90
|
Post by stryderwolfe on Nov 13, 2008 9:26:30 GMT -5
wow that was informative....
you know what amazes me is not so much that you'd be able to figure out how to make a stamp, but that it occured to you in the first place. You know, instead of coming home and going "I think I'll check my email/watch tv/whatever" you thought "I think I'll make a stamp" and history is made. Hats off!
|
|


